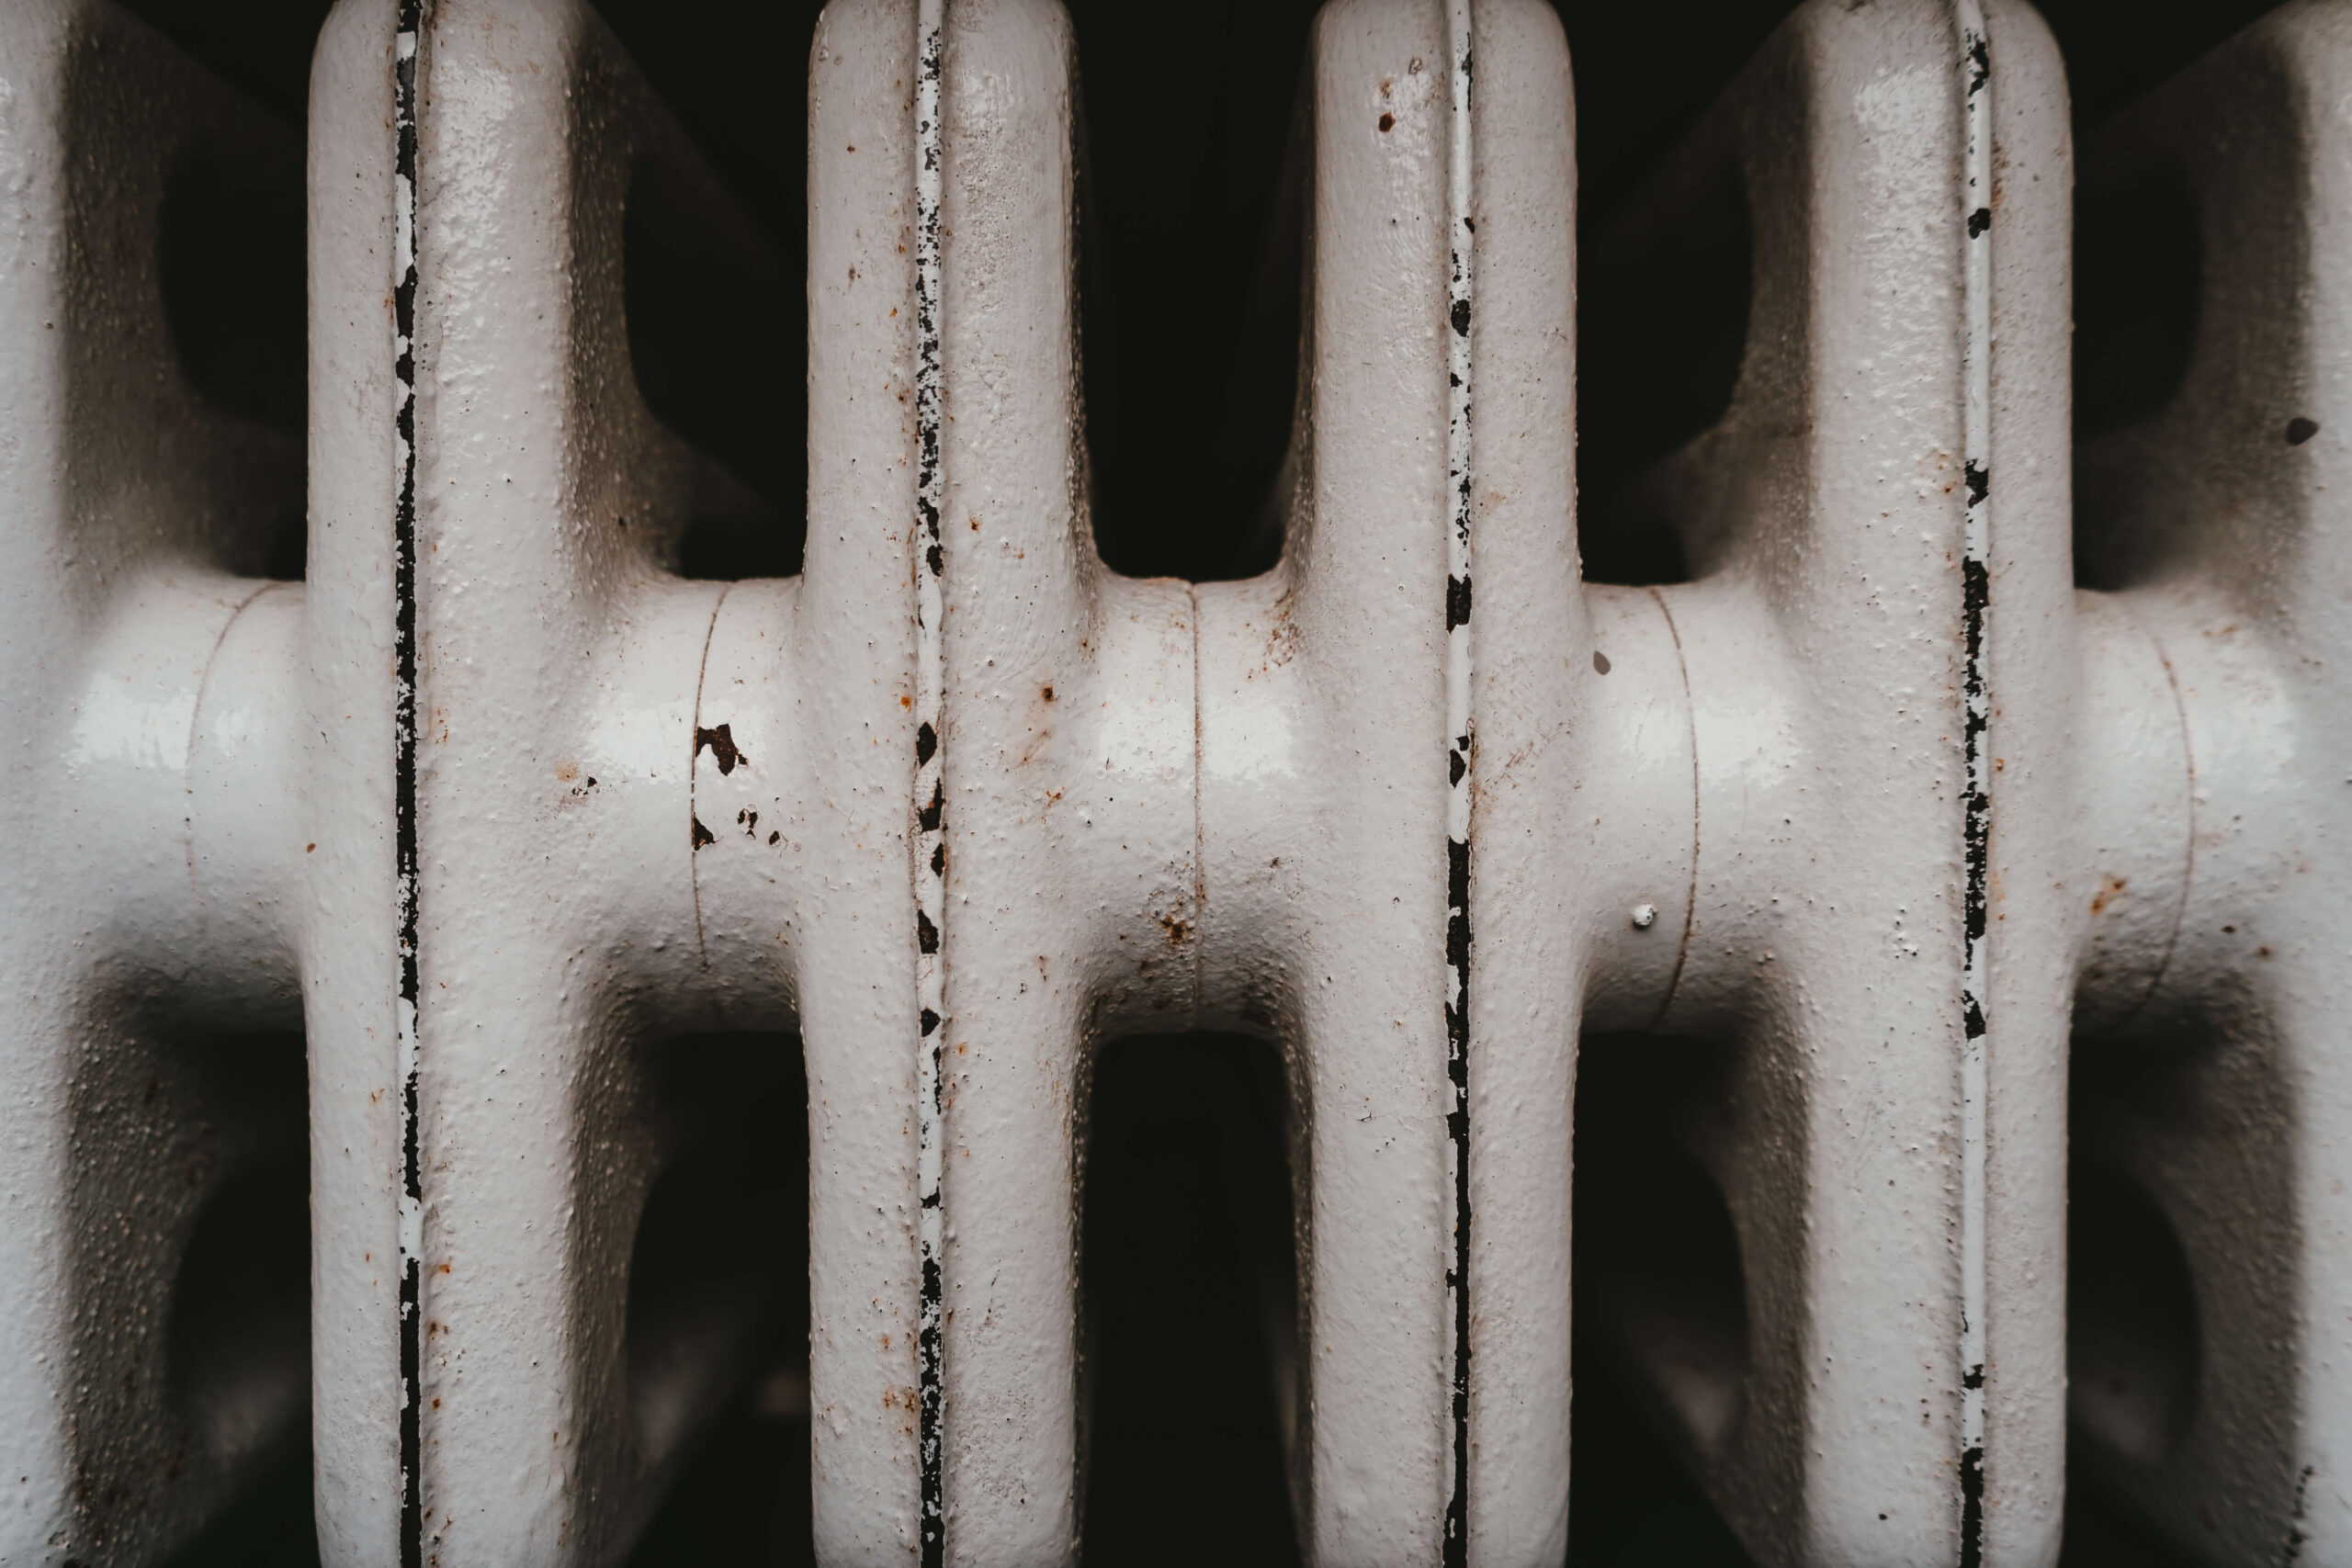
Heating and gas services are vital to the health and comfort of our homes. Functional radiators warm your property and ensure that no corner of your place is left damp. Therefore, careful upkeep of your boiler and your radiators is essential to make sure your home is running smoothly.
Bleeding a radiator is a necessity when air is trapped inside. Trapped air stops warm water from flowing around your radiator, meaning it can’t perform correctly. You might find your radiators cold to the touch at the top, yet lukewarm at the bottom.
Your central heating system isn’t working as efficiently as possible if your radiators aren’t in top shape, meaning your rooms will take longer to warm up and you’ll need to spend more on heating bills. Bleeding your radiator is also the first step you should take if you’re hearing unusual gurgling, clanking or banging noises.
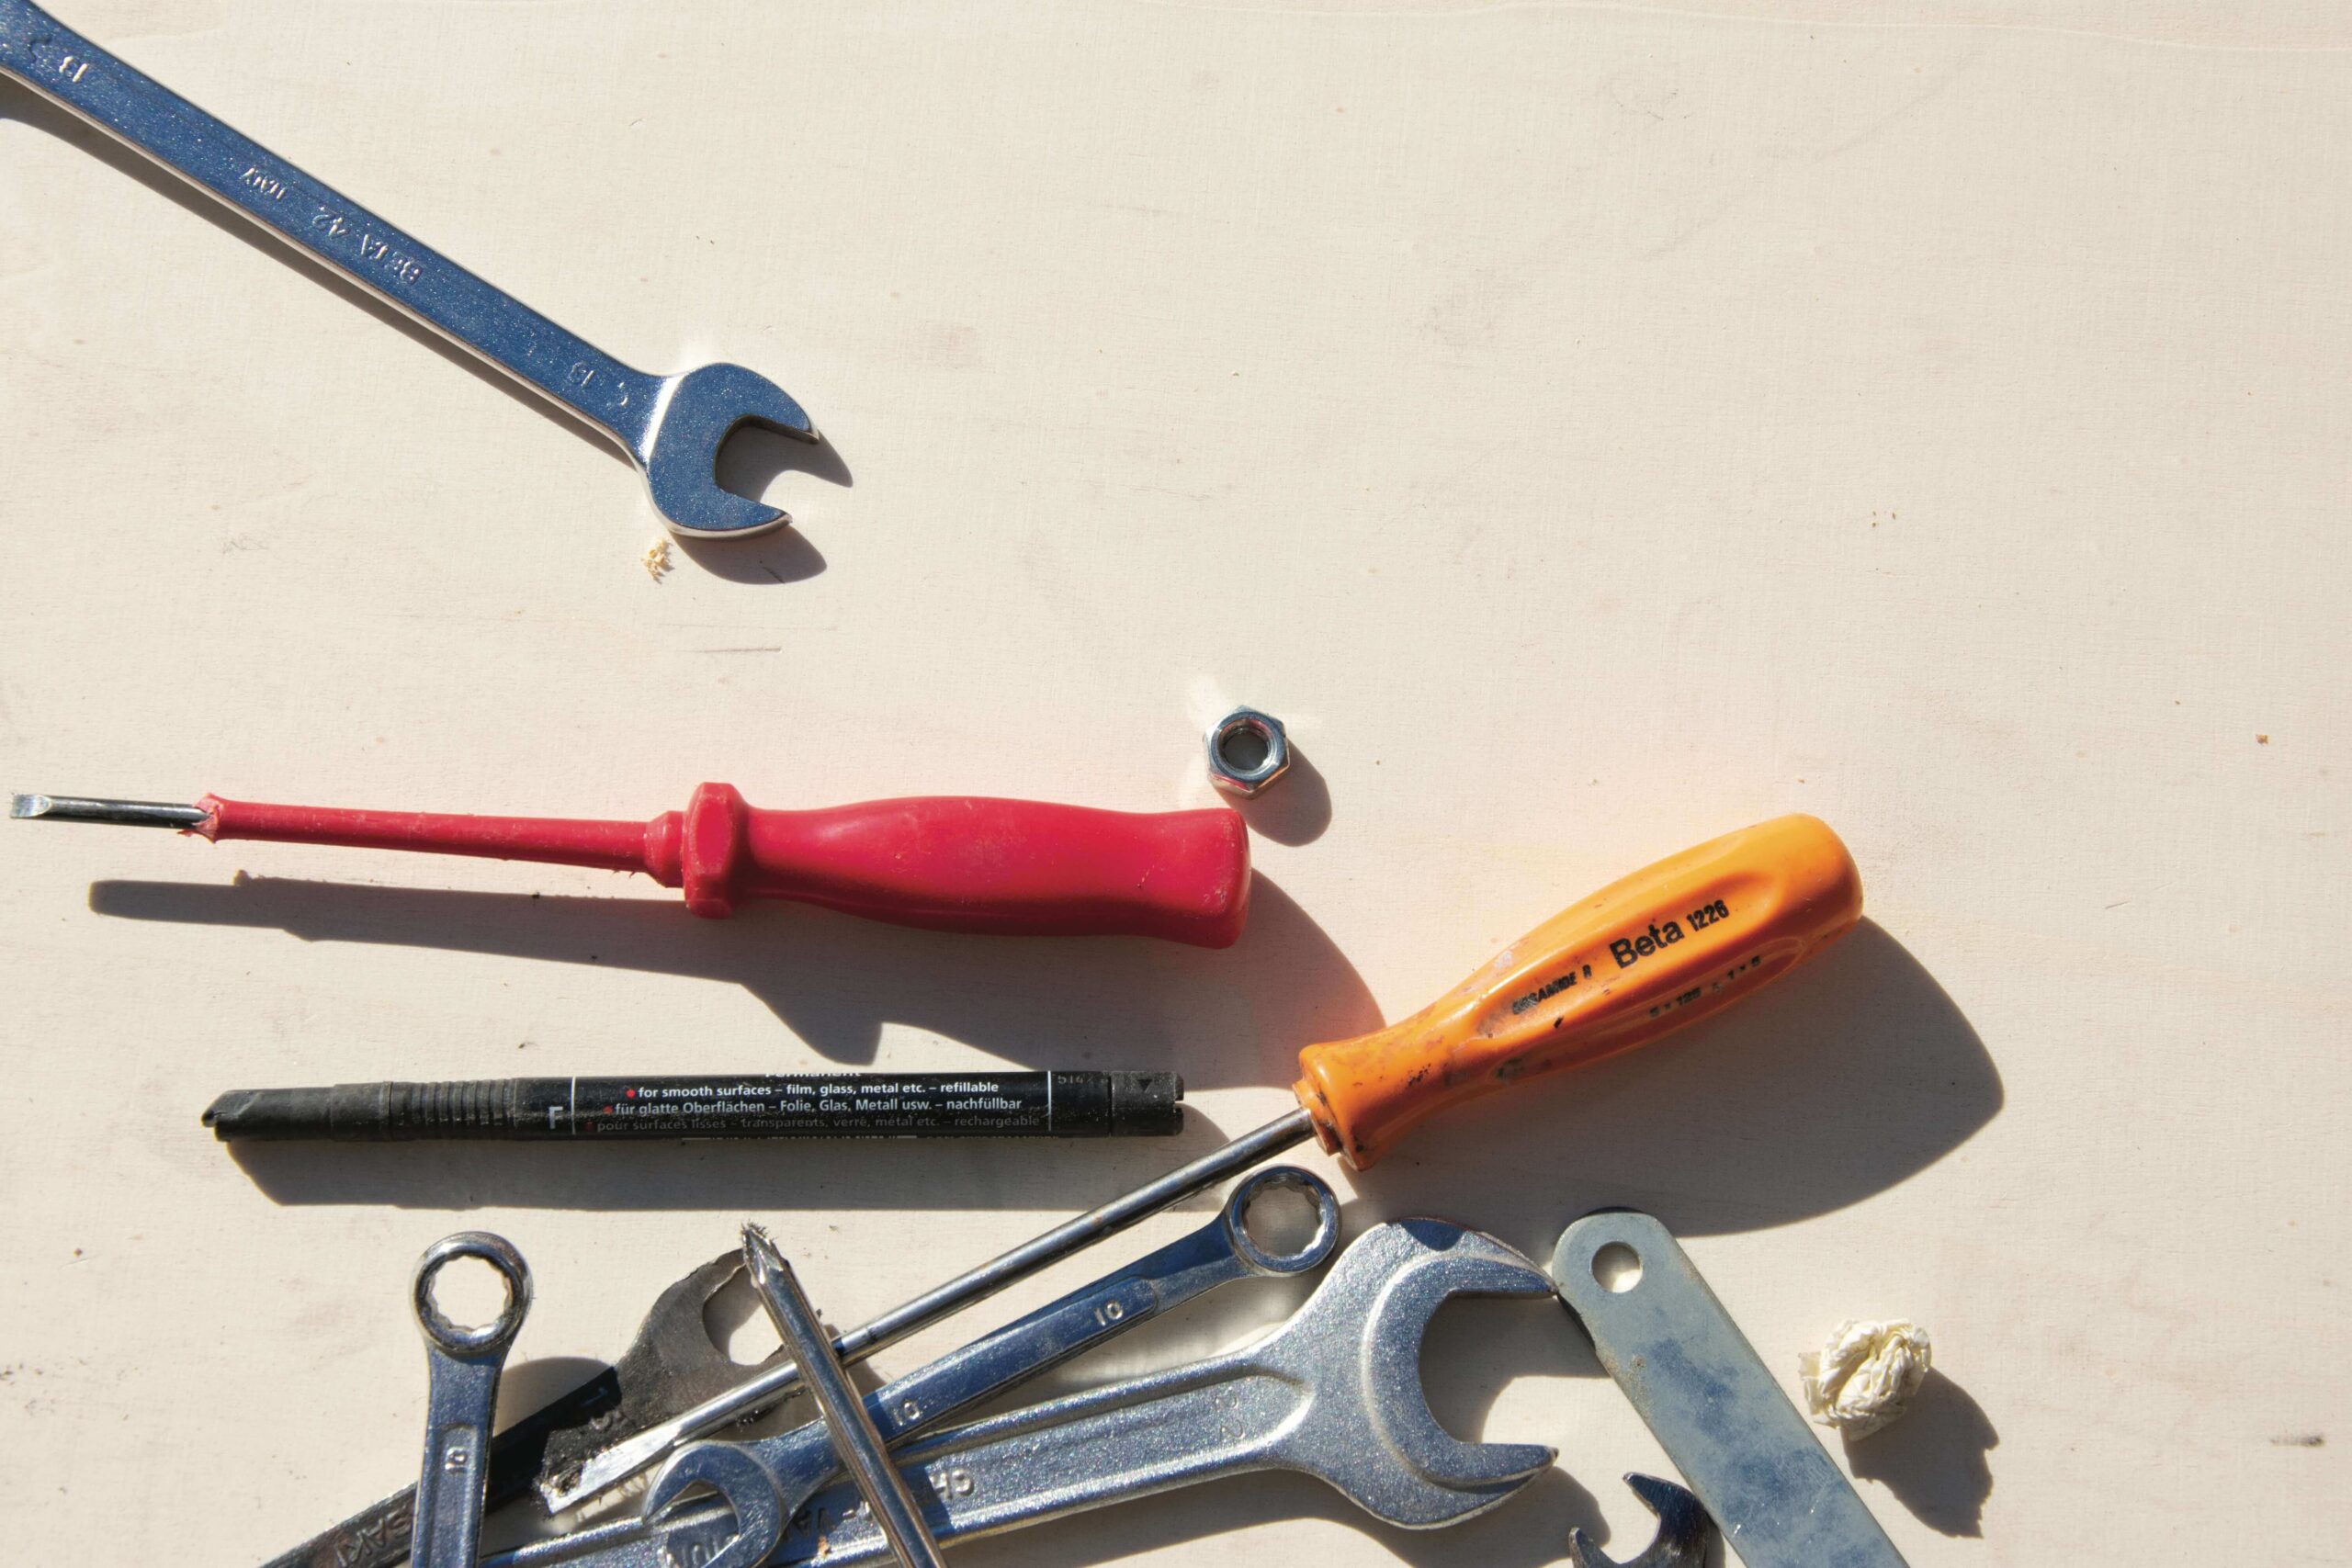
Knowing when to bleed a radiator is all well and good, but it can seem like a daunting task if you have no experience! Here is a handy guide that will walk you through how to bleed a radiator. All you’ll need is a radiator key or a flathead screwdriver, and a towel.
How To Bleed a Radiator
Step 1 – Turn Off Your Heating
The last thing you want is to burn yourself while you’re trying to perform maintenance on your radiators! Turning your heating off before you begin your checks and your bleeding means that any water that leaks won’t be scalding hot, and you’ll be able to complete all other steps without injury. Once you’ve turned your heating off, wait 30 minutes or so until your radiator is okay to touch.
Step 2 - Use The Radiator Key
Next up, you need to turn the valve at the very top of your radiator. Position your towel positioned so as to catch any water leaking from your loosened valve. Attach your key to the square gap in the centre of the valve, and slowly turn it anticlockwise. You should hear a gentle hissing sound as the valve loosens, and this is a sign that you’re doing the job right. Keep the valve open until water starts to come out – an indication that all the air has been released. If you aren’t confident with this step, consider the assistance of a handyman.
Step 3 - Retighten Your Valve
Now that gas trapped in your radiator has escaped, the valve in your radiator needn’t be open anymore! The only liquid should be coming out of the space at this point, and all hissing should have finished. Water may be streaming out in a jet, but this is entirely normal in modern radiators. To retighten your valve when you’re sure all air has escaped, position your radiator key in the same spot and turn the piece clockwise. You should be able to feel more resistance as you turn your key and secure the valve.
Step 4 - Wipe Down Your Radiators
As soon as you’ve finished bleeding all the radiators around your house, wipe them down with a towel to avoid rusting. Any leftover liquid on your pipes or your radiator’s body can cause the metal to deteriorate over time, and it is sensible you try your best to avoid that! Having to repaint or replace your radiators if they’re rust damaged will take time and money you can prevent with simple care.
Step 5 - Turn On Your Heating
Now that you’re confident your radiators are bled and dry, you need to double-check they’re performing correctly! Turn on your heating to check that your work has been successful, paying close attention to whether your radiator panels feel hot all over. If they don’t, some radiators may need bleeding again. The issue may also be with your boiler heating pressure level, so ensure that the pressure hasn’t fallen too low on your boiler display. If it has dropped too low, top up the pressure by using the filling loop. If you require further guidance, call out a team specialising in boiler installation, repairs and servicing.
Following this guide and bleeding your radiators at least once a year will help keep your home in top shape!


